
Back to homepage
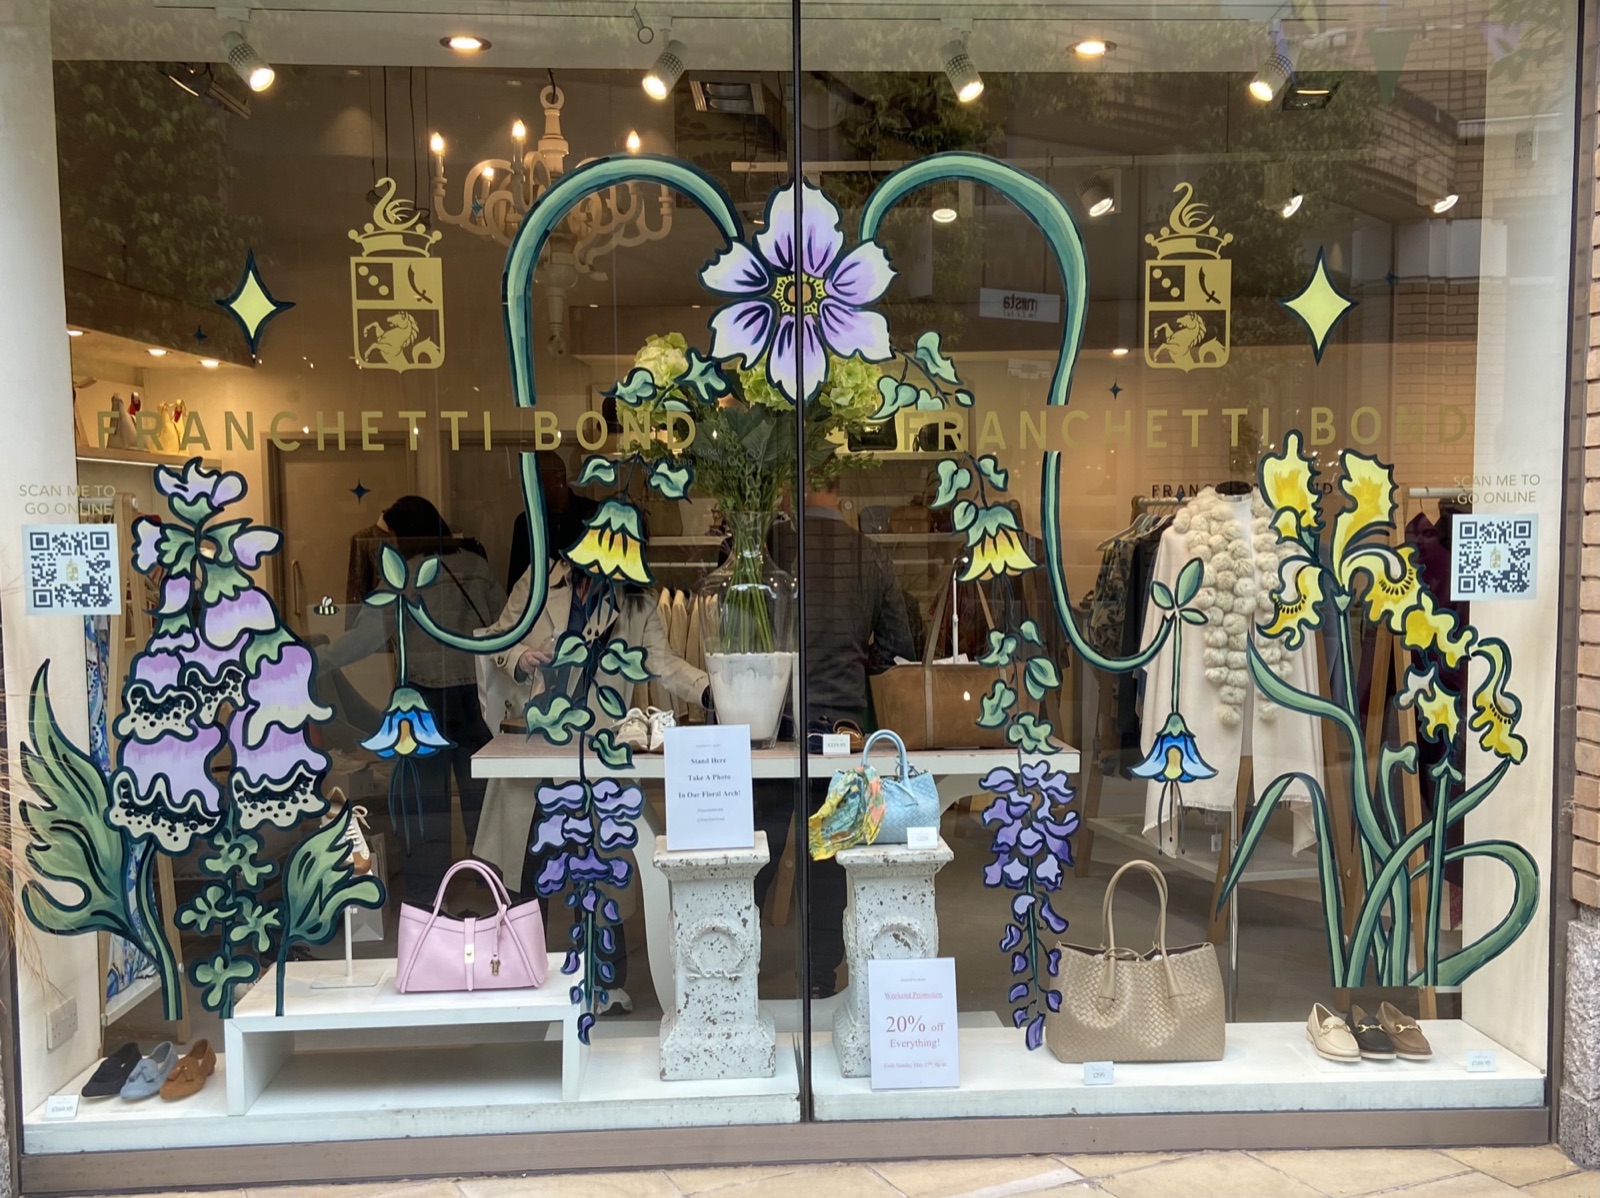
The Window Mural by Fiamma Franchetti Bond: foxgloves, wisteria, bellflowers and irises painted across a shop window, meeting in a floral arch

Window Mural

270cm x 176cm | Acrylic & soap on glass

For Chelsea Flower Show 2026, the brief was a hand-painted window mural that felt vibrant, colourful and fun, and doubled as an in-store activation people could interact with, especially on social media.

Drawing on the Art Nouveau around me in Barcelona, I designed a floral arch of foxgloves, wisteria, bellflowers and irises, framing a spot for passers-by to step into the flowers and take a photo.

Painting a working shop window meant planning around the weather and drying times, customers shopping around me and the products on display, and making sure it would all come off cleanly afterwards.

Contact me

See the process

From a sketchbook idea to a window in full bloom.

Every flower was planned on paper, tested at home, then painted by hand onto the glass.

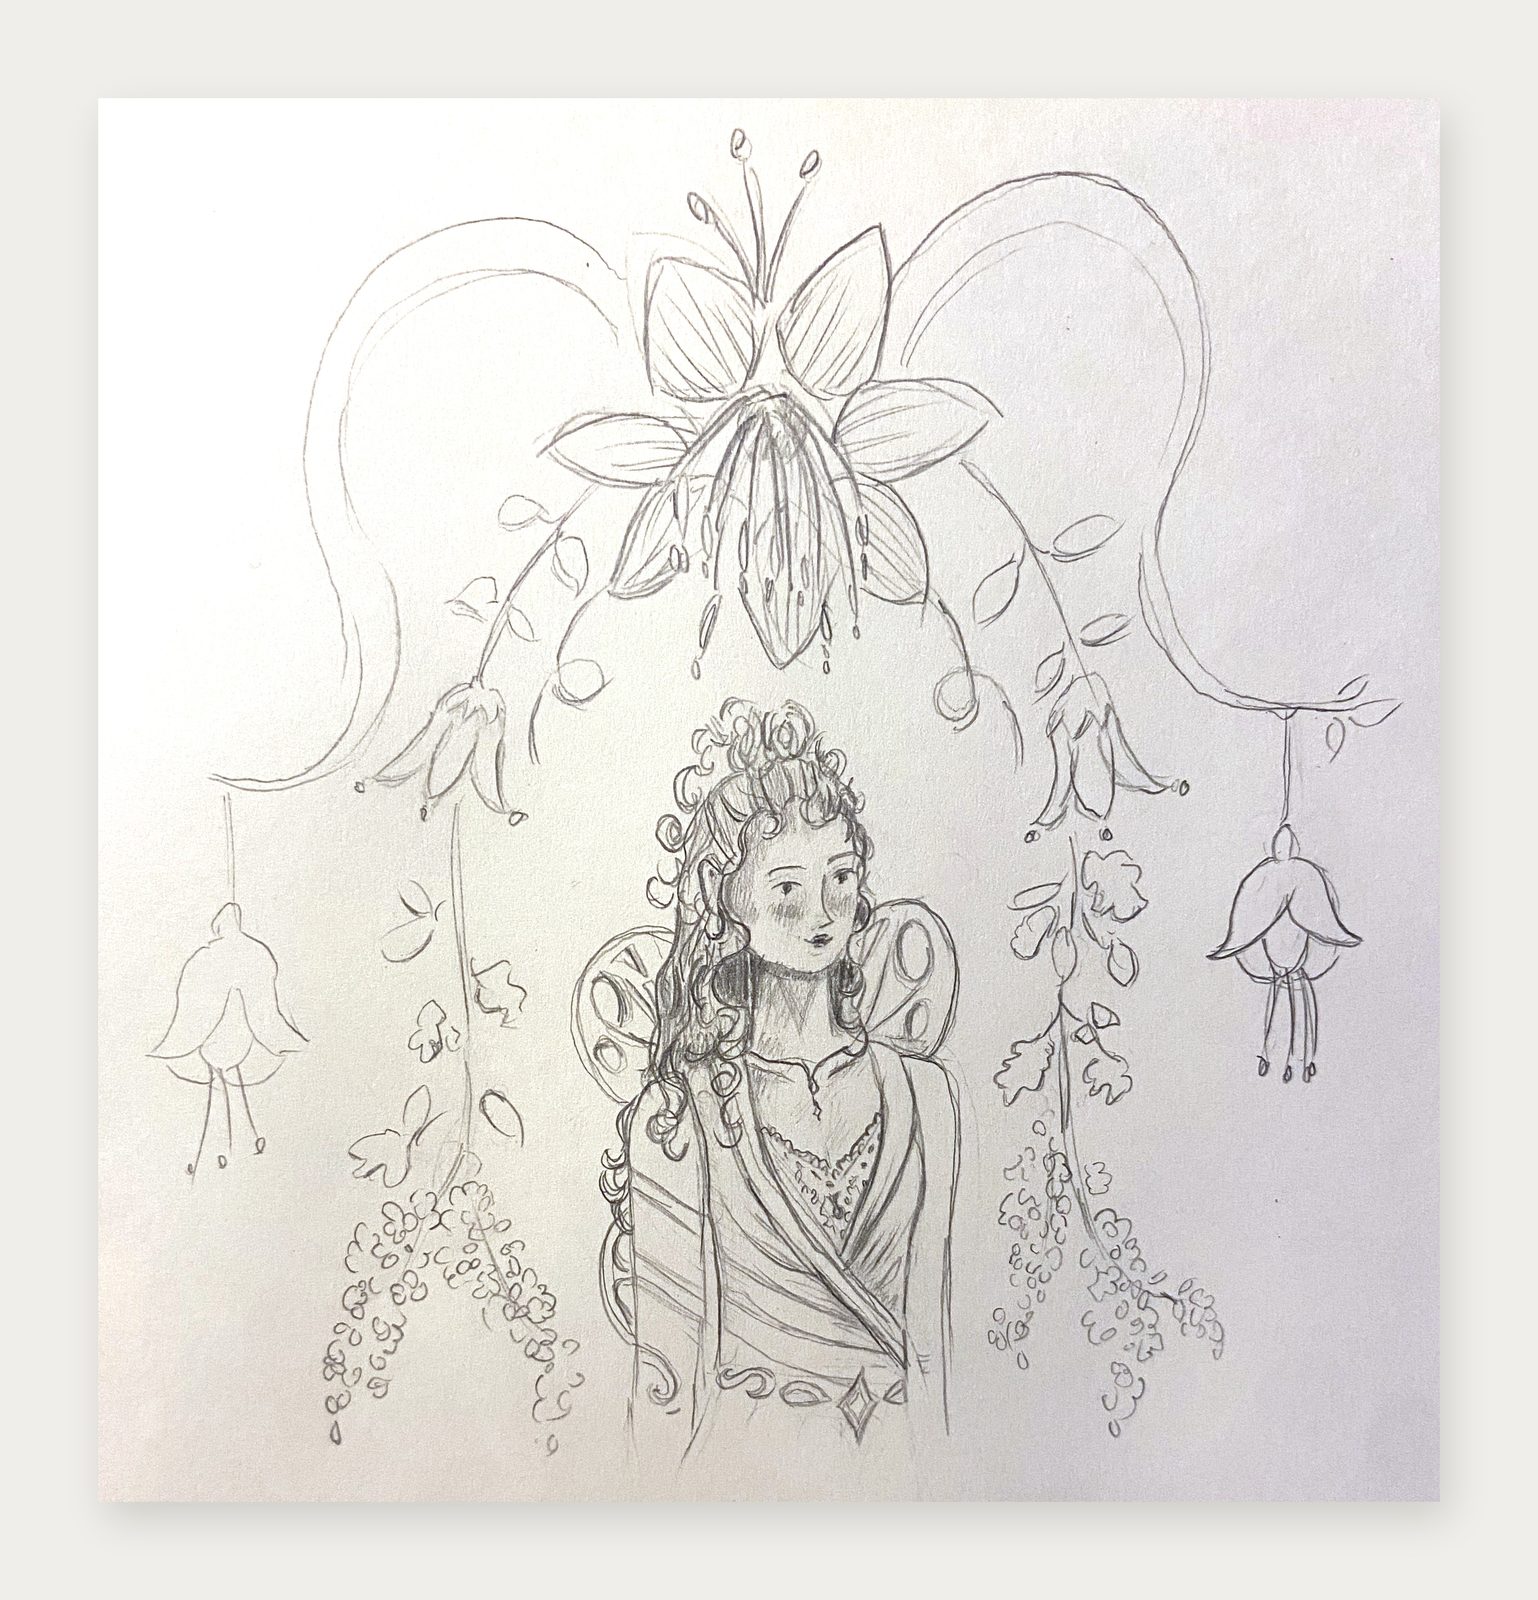
Pencil sketch of a fairy framed by a floral arch, with bellflowers and wisteria hanging down either side
Step one: where the arch began

The arch first appeared around a fairy in my sketchbook, an idea that felt perfect for social media and true to the fairy-tale feel of the project.

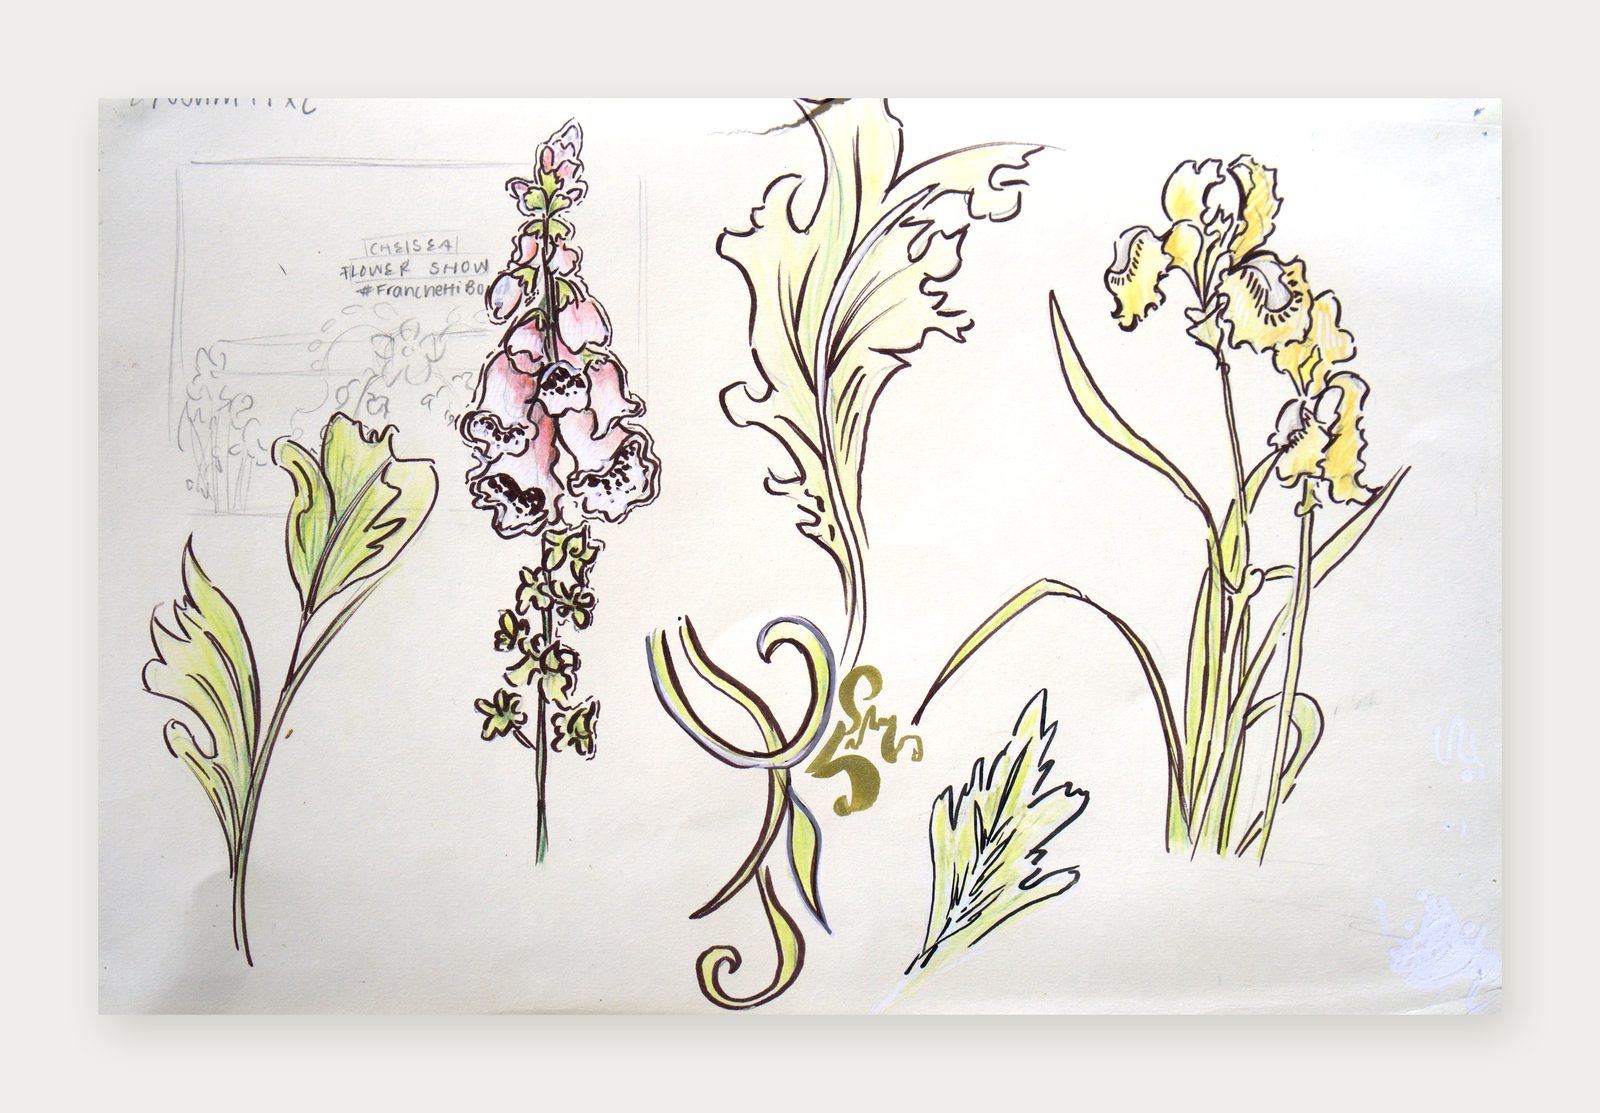
Ink and watercolour studies of a foxglove, an iris and curling leaves
Step two: find the inspiration

Barcelona's Art Nouveau, paired with the brightest flowers I could find, set the tone.

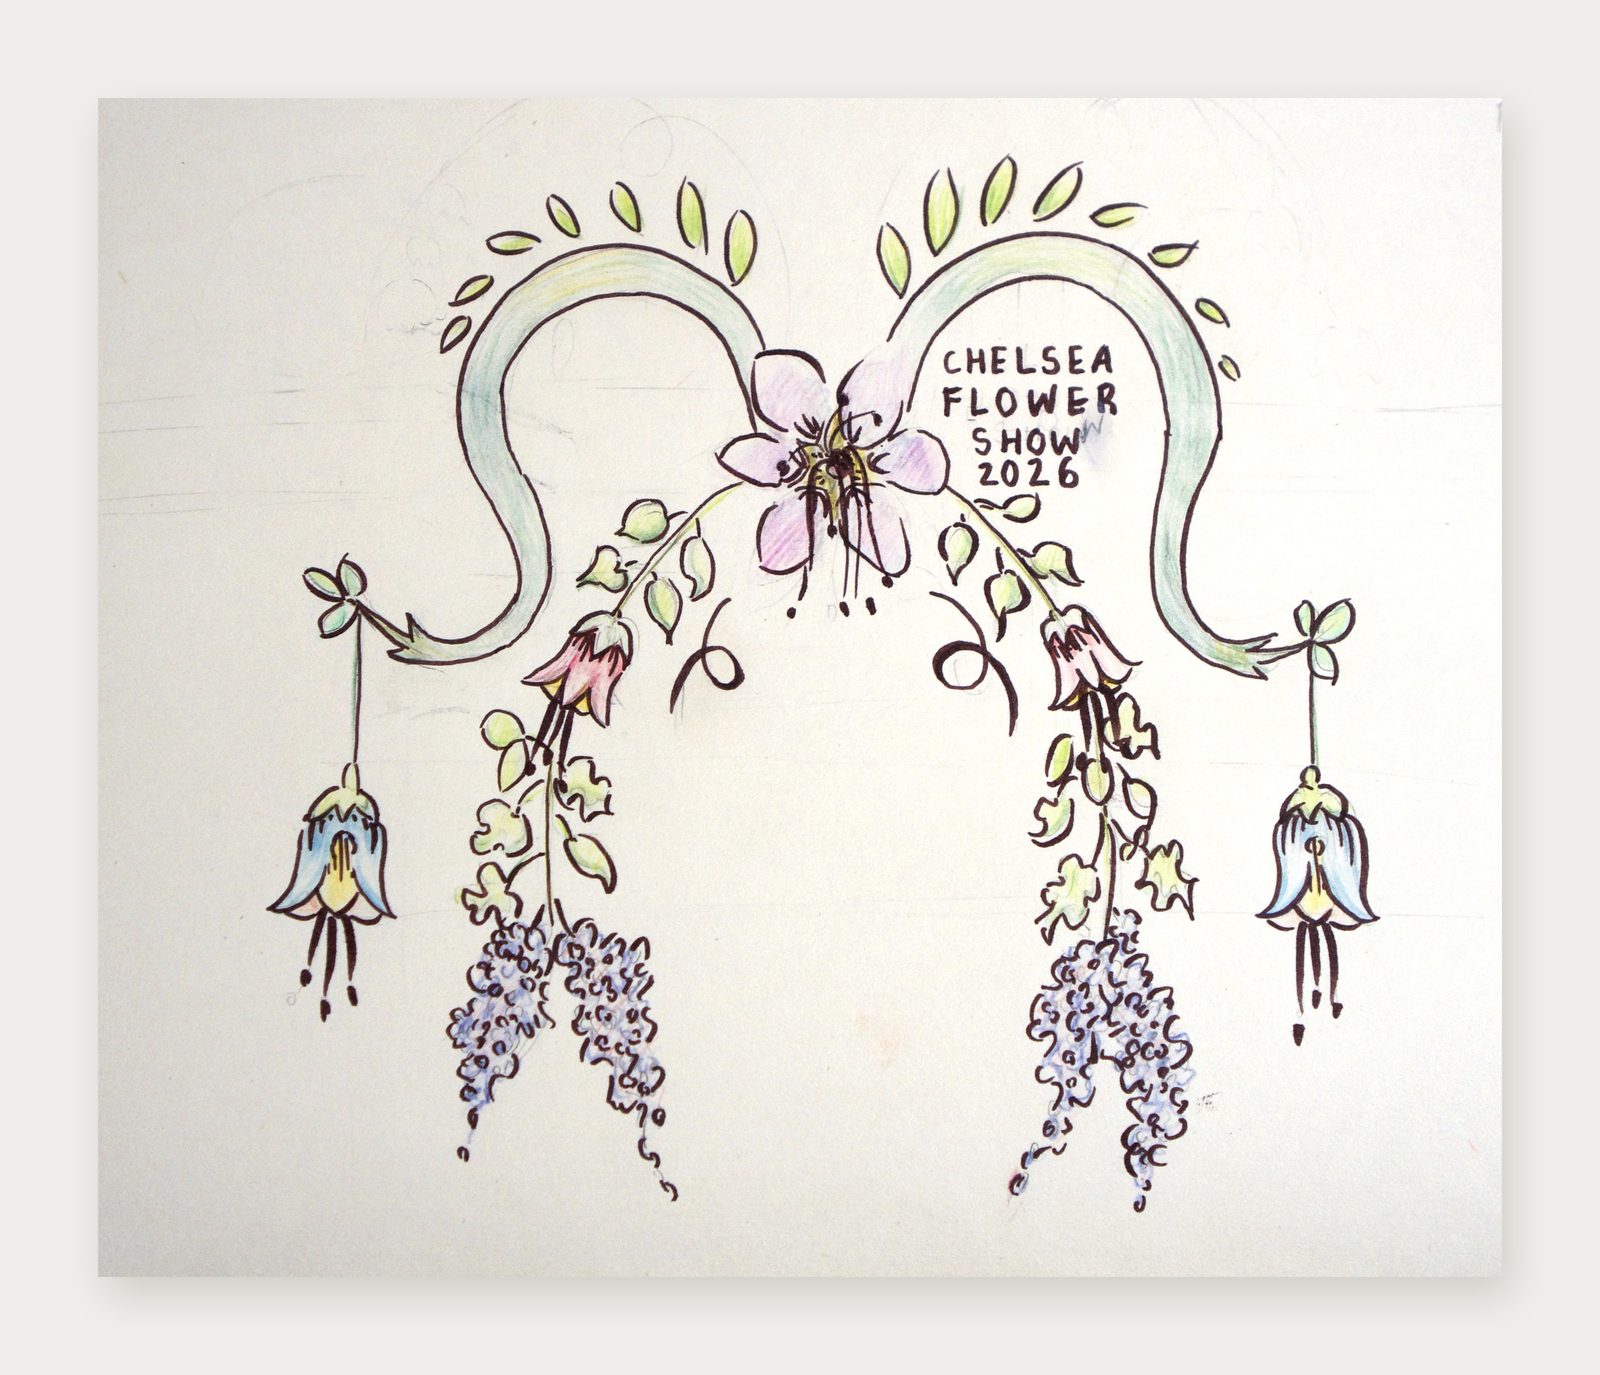
Early design for the floral arch, with Chelsea Flower Show 2026 lettered inside it and bellflowers and wisteria hanging from each side
Step three: shape the floral arch

A floral arch became the centrepiece, framing the Chelsea Flower Show lettering.

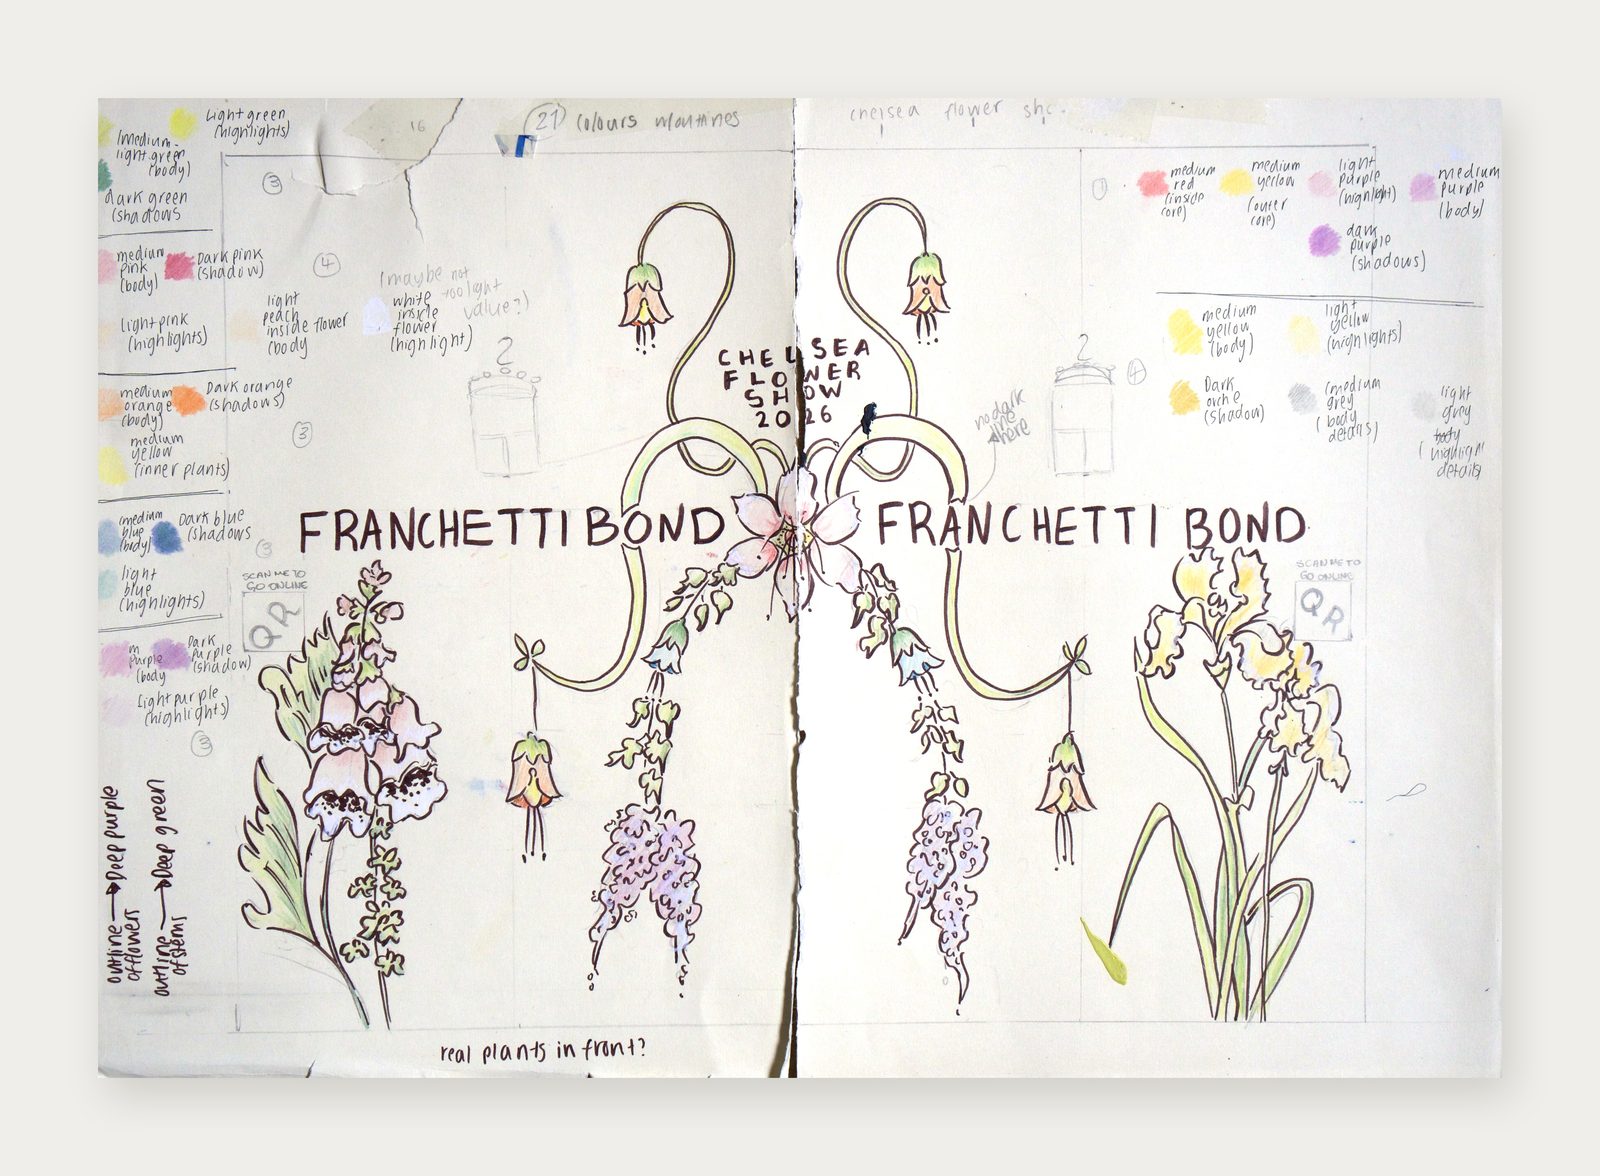
The final design across a sketchbook spread: foxgloves, wisteria, bellflowers and irises around the arch, with colour notes down each side
Step four: plan the design to size, around the vinyls

Drawn to the window's exact size, the design flows around the existing vinyls and QR code.

Step five: test the methods at home

Glass is painted in reverse, so I trialled my techniques on a window at home first.

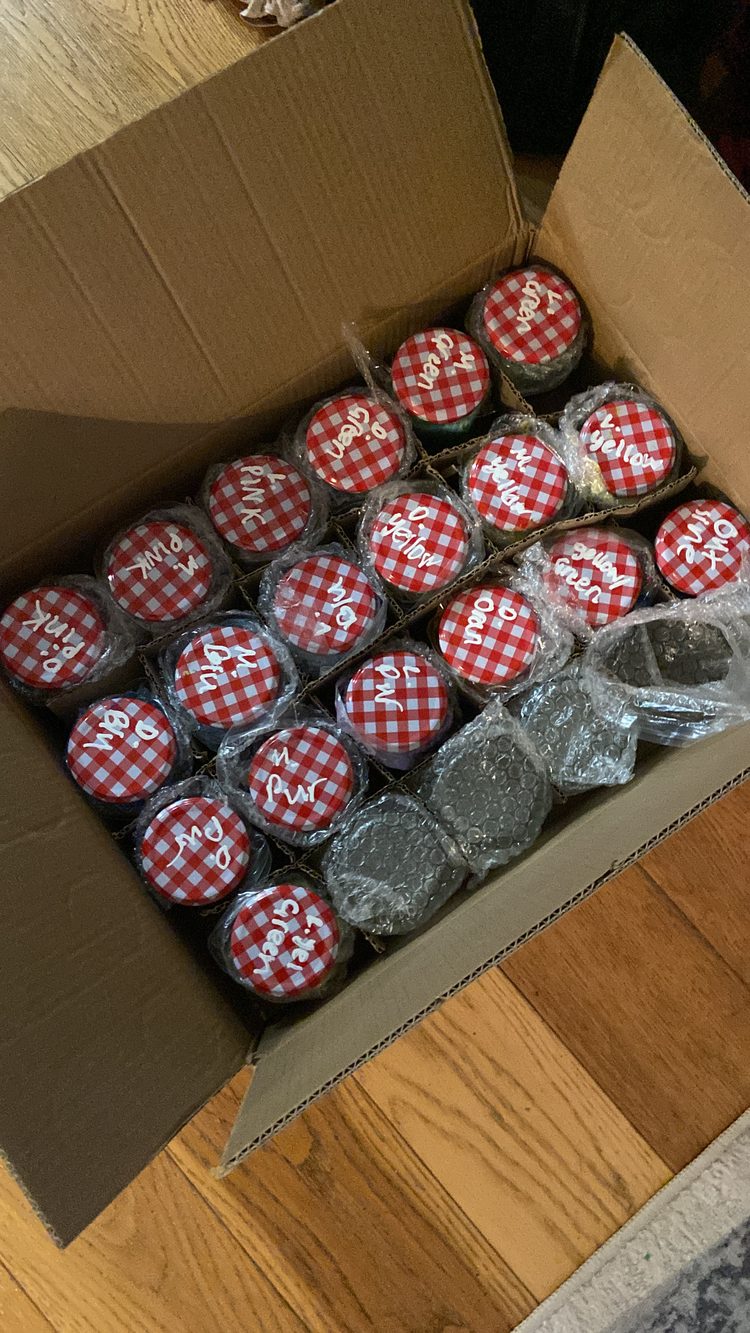
A box of jam jars with gingham lids, each labelled with the colour mixed inside
Step six: weigh out acrylic and soap for every colour

Acrylic mixed with soap stays flexible and removable, so every colour was carefully weighed.

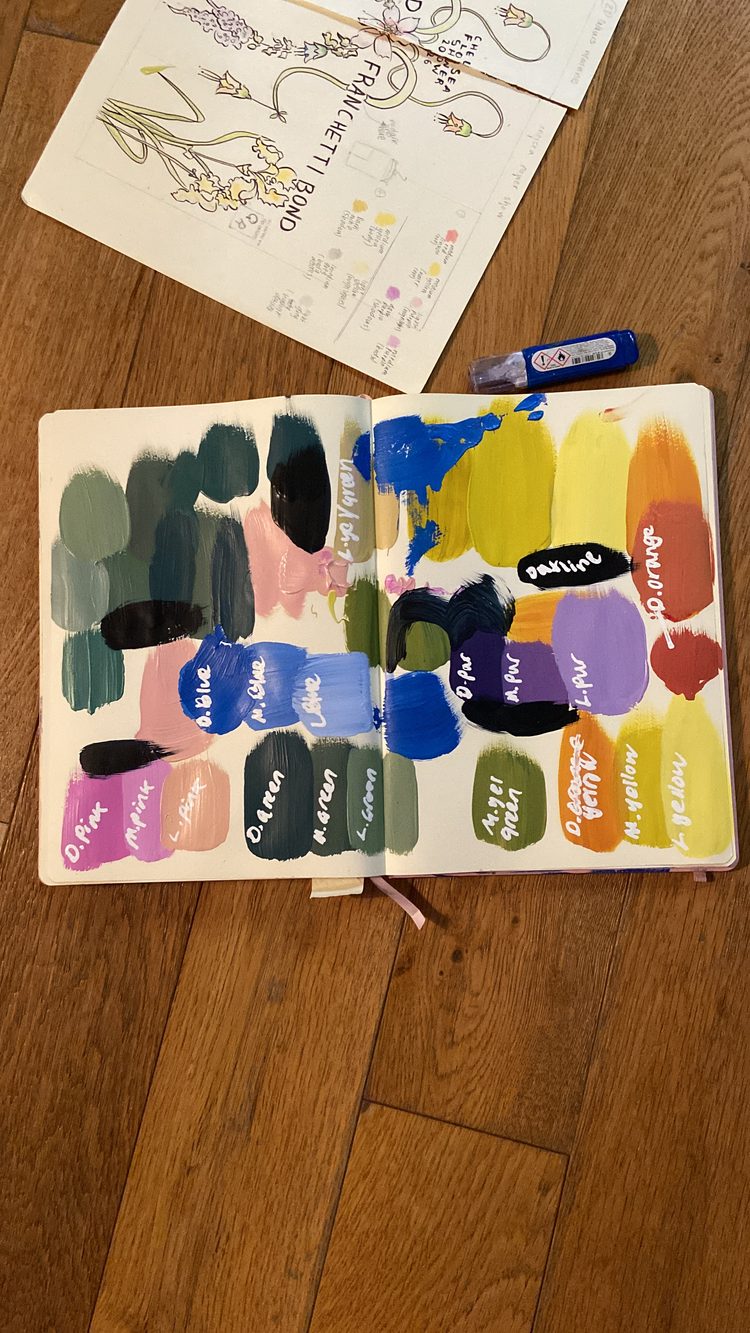
Sketchbook page of painted colour swatches, each one labelled, beside the window sketch
Step seven: test the colours

Each mix was swatched and labelled before it went anywhere near the glass.

Step eight: clean the glass, then sketch each section in whiteboard marker

With the products covered and the glass cleaned with rubbing alcohol, I sketched each section in whiteboard marker.

Step nine: paint the outline in two to three coats

The marker lines were replaced with two to three coats of outline colour, each left to dry fully, however long the weather decided that would take.

Step ten: fill in the colour

Only then could the flowers be filled in with colour.

The window at the end of the first day, with most of the flowers painted
Step eleven: the end of day one, painted half a window at a time

Working half a window at a time kept the shop's products on display.

Step twelve: back up the ladder for day two

Day two brought the second half, and plenty of time up the ladder.

Step thirteen: the finishing details

Fine lines and small details brought every flower to life.

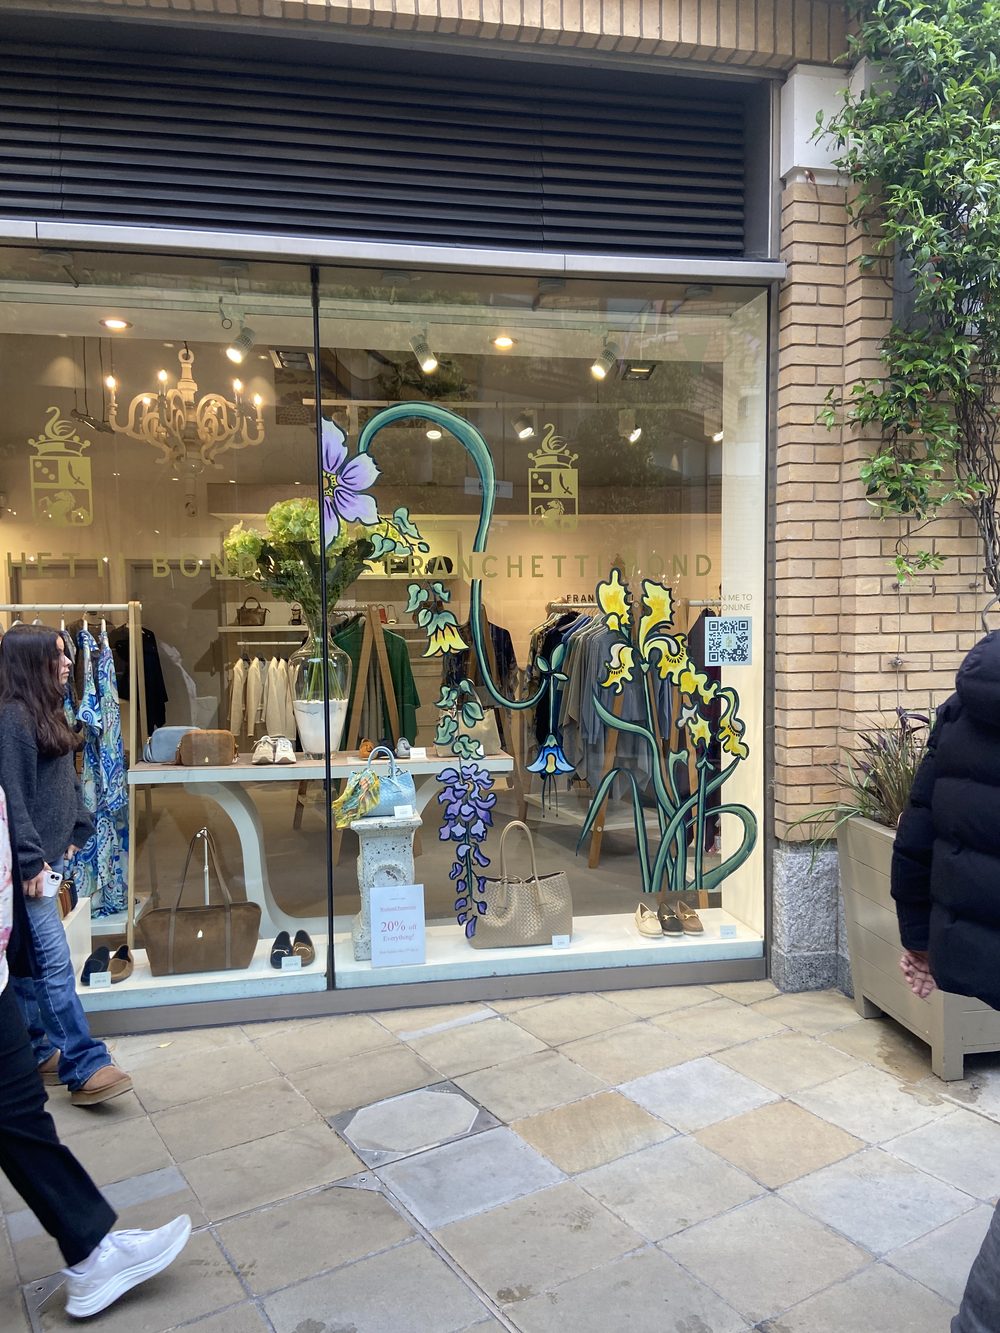
The finished Window Mural: foxgloves, wisteria, bellflowers and irises around a floral arch across the whole shop window
Step fourteen: the finished window

Two days later, the whole window was in bloom.